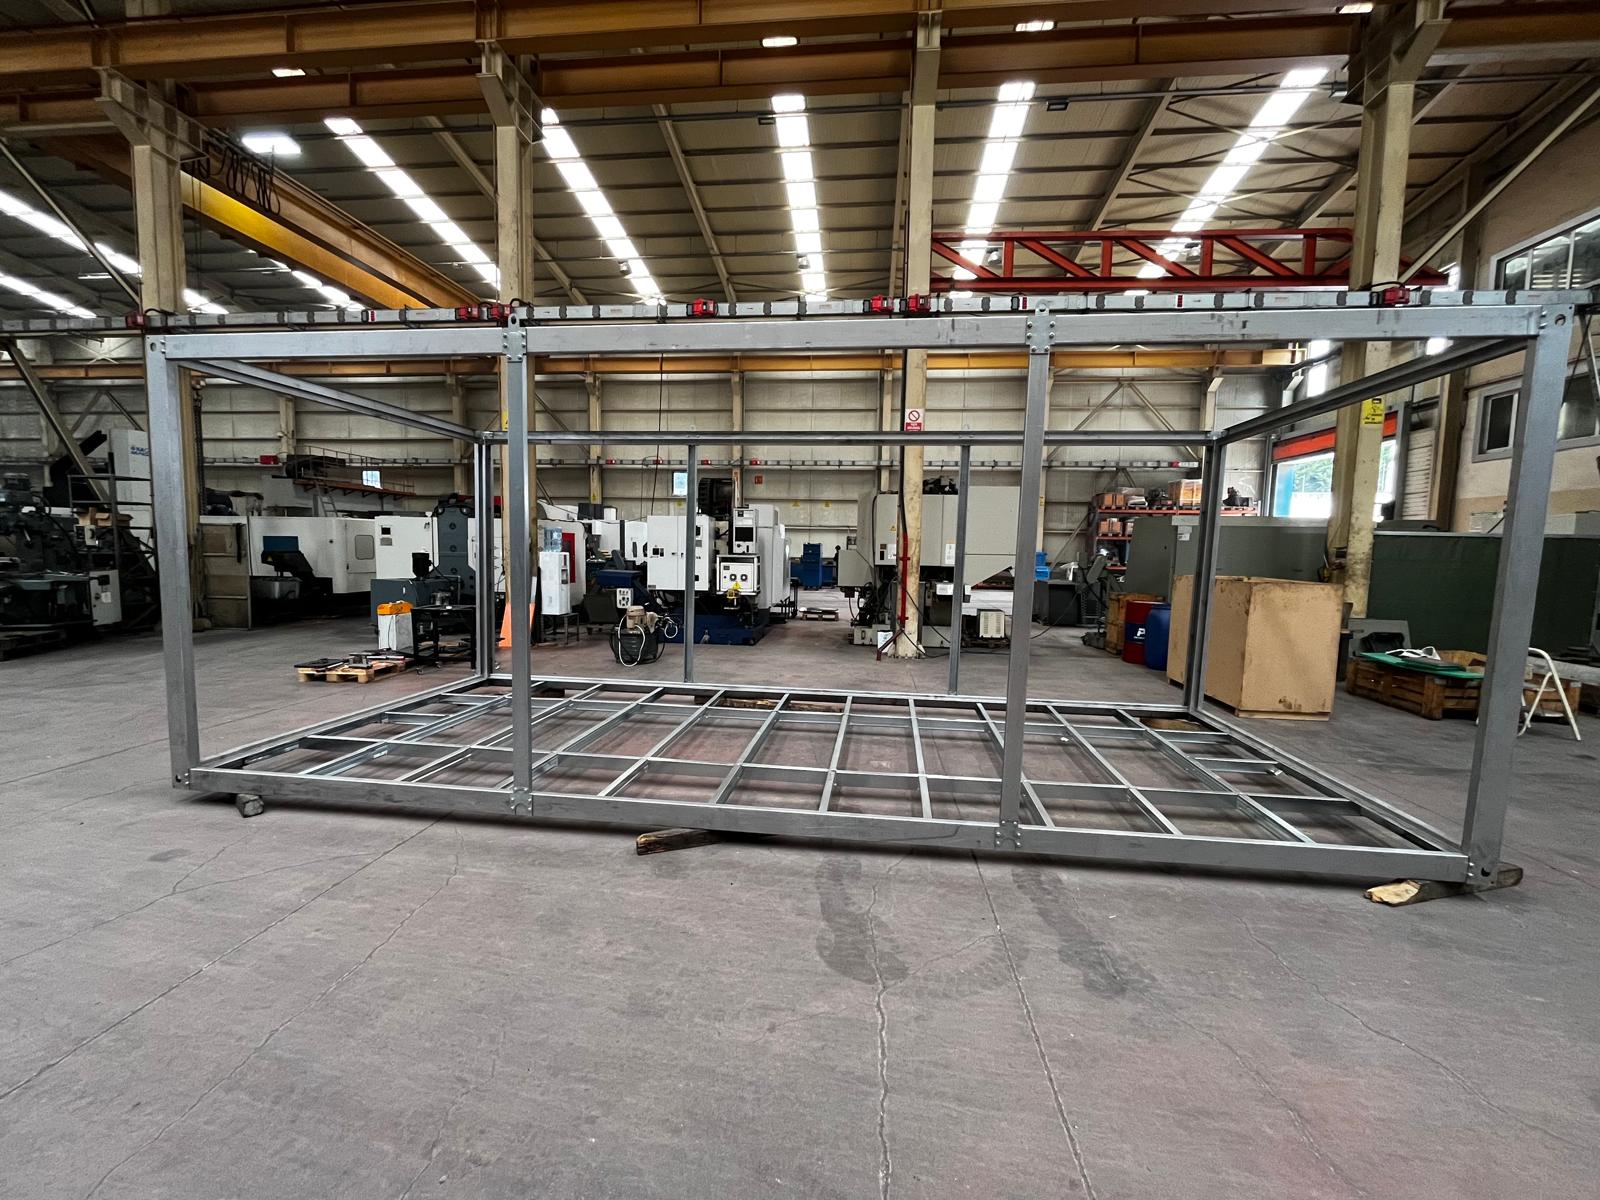
The major advantage of demountable steel container systems is their ability to be rapidly assembled on site without welding equipment or heavy machinery. Manufactured from precision cold-formed S350GD galvanized steel profiles with pre-drilled CNC bolt holes, a standard 3x7m frame can be assembled by 2 workers in 1 to 2 hours. This detailed technical guide covers every step from foundation leveling to final bolt torquing.
1. Site Preparation and Base Leveling
Ensuring the installation surface is perfectly level is crucial for structural longevity and smooth door/window operation. On soil or unpaved ground, the bottom chassis must be supported at four corners and mid-span points using concrete blocks or steel pads. Use a laser level to verify that all corner points share the exact same elevation. A 1 cm leveling error at the base can lead to a 3 cm axis displacement at the roof chassis, risking panel joint water leakage.
Once base leveling is verified, securing anchors or steel pads are checked. In environments with direct ground moisture contact, using concrete strip footings significantly extends the overall frame service life.
2. Bottom Chassis Profile Assembly
Lay out the two 7m longitudinal chassis beams and two 3m end profiles on a flat surface. Insert the corner connection plates and 4.00mm thick heavy-duty lifting brackets into the profile channels. Fasten with M12 high-strength galvanized bolts and lock washers. Measure the diagonal corner-to-corner distance with a steel tape to ensure millimetric squareness.
3. Installing Corner Column Posts
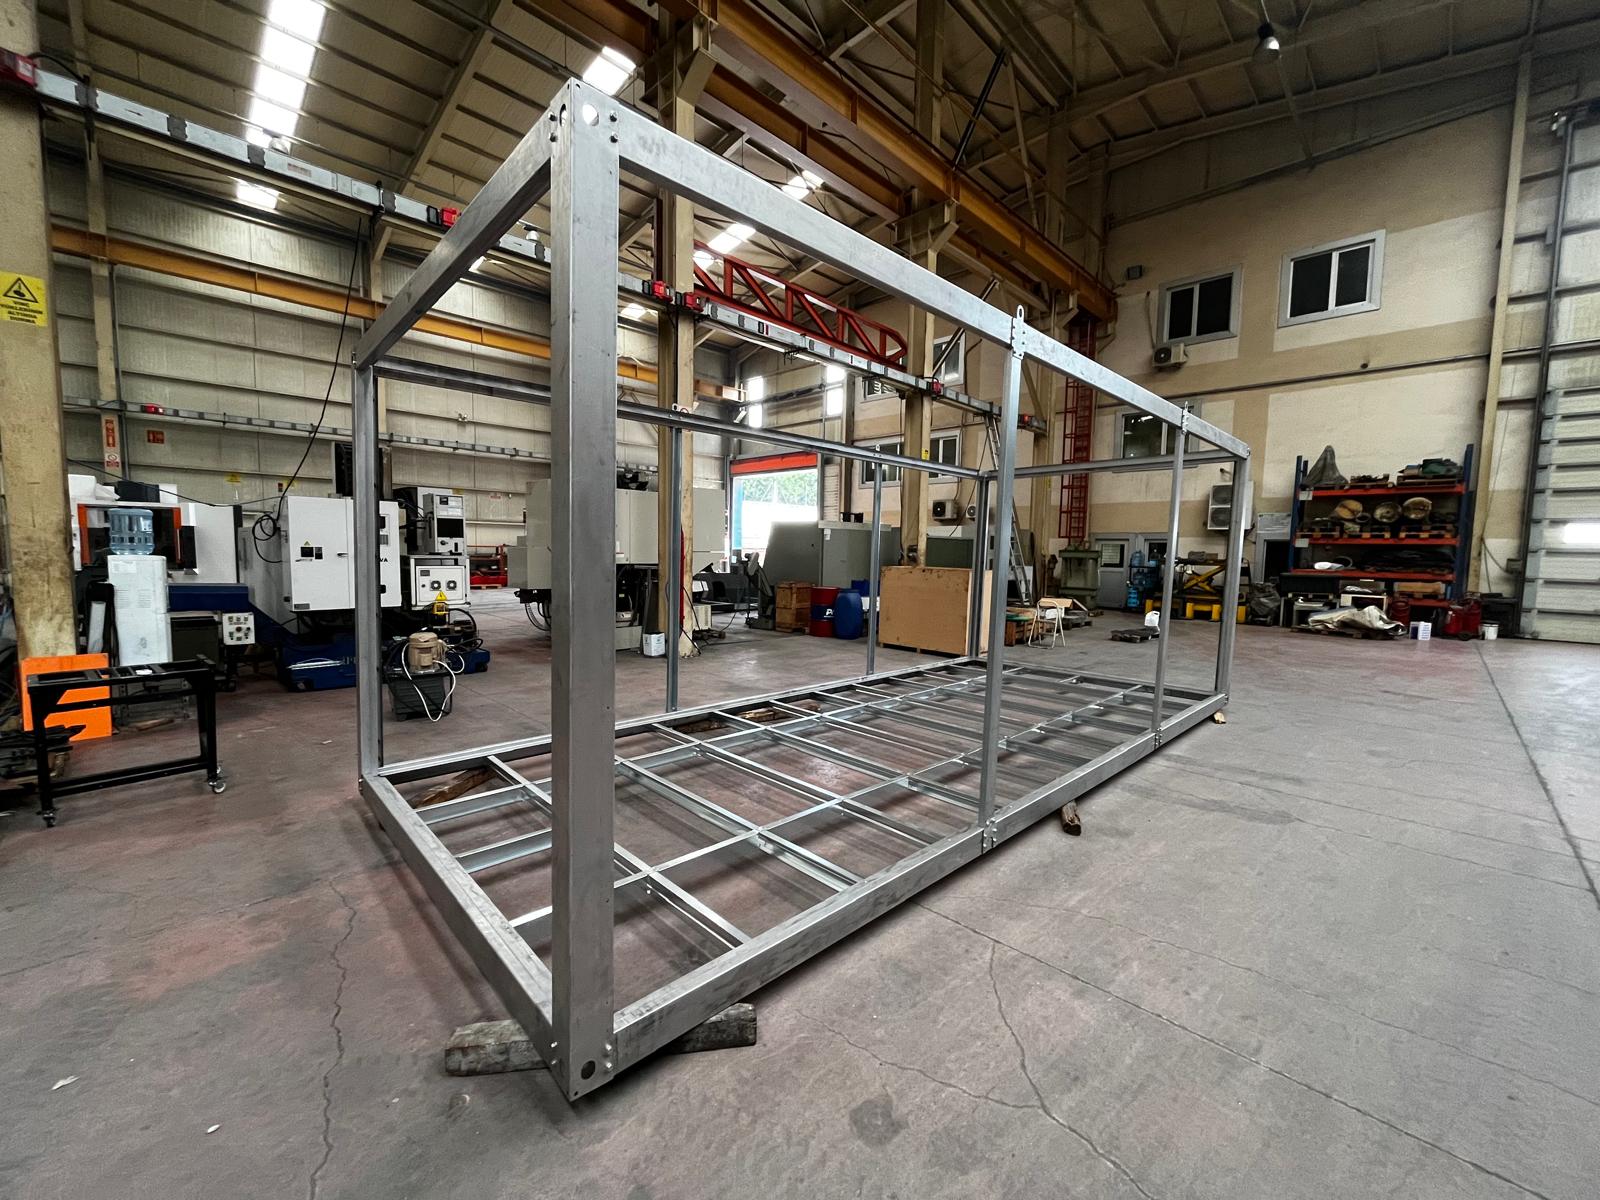
Position the four 1.50mm heavy-duty galvanized corner column profiles vertically into the bottom corner plate guide slots. Temporarily install the base securing bolts. Verify vertical plumbness (90 degrees) for each column before final tightening.
4. Top Roof Chassis & Integrated Drainage
Pre-assemble the top roof chassis profiles on the ground or lift them directly onto the corner column posts. Secure the top corner plates with M12 bolts to form a rigid 3D cubic frame structure. Verify that the integrated hidden roof gutters have clear drainage outlets connected to downspouts.
5. Floor Joists & Load Distribution Profiles
Fit the C90x1mm galvanized floor joist profiles into the bottom chassis channels at 40 cm center-to-center spacing. This 40 cm joist grid supports up to 350 kg/m² uniform live load, ideal for Marine Plywood or Fibercement subfloors.
6. Final Torquing and Safety Inspection
After the entire structural frame is assembled, proceed to final bolt torquing using a calibrated torque wrench (75-85 Nm). Re-verify corner squareness and plumbness before installing wall sandwich panels.
7. Jobsite Safety & Occupational Standards
Occupational health and safety (OHS) standards must be strictly followed during flat-pack container frame assembly. Workers should wear hard hats, safety gloves, steel-toed boots, and protective eyewear. When working at elevated roof levels, approved fall-arrest harnesses must be used.
8. Inspection and Periodic Maintenance
100% bolt-together hot-dip galvanized steel frames are virtually maintenance-free structures. However, annual periodic inspections should review bolt torque levels and clear any debris or leaves from the hidden roof gutters. After severe storm events, a visual inspection of corner joint connections ensures ongoing static safety.